Monday, March 17, 2014
Embellished Burlap Bags
Hey Ladies, I hope you are all having a Fabulous Monday Night! It has been way too long since I posted last, but the last month was absolutely crazy and chaotic for me. But here I am ready to get this show on the road and show you some more super fun projects that you won't want to miss! To start this week out check out some super cute ideas for Burlap Drawstring bags. Super easy and super cute!
I can hardly believe that March is half way over, with that said don't miss out on your chance to snag this months Stamp of the Month! Spend $50 and get this SOM for just $5 (retailed at $17.95).
Tomorrow I'll be announcing April's promotion for signing up to be a Consultant. Its an opportunity you won't want to miss, so stay tuned!
Wednesday, February 5, 2014
Fun Valentine's Cards
Good morning or good night (at least for me anyway), I find I am able to get more work done at night and I kind of like being a night owl! I'm crazy, I know! I've had these photos sitting on my Hubby's computer for the last week and I figured I should probably take the opportunity to blog about them. For those of you who don't know, I'm LDS or a Mormon, which ever you prefer to call me, and I was asked by my Church's local Woman's group known as the Relief Society, to be in charge of the project for our monthly activity this month. The request was to do some kind of Valentine's cards, something simple and inexpensive. Which of course I said yes, because how could I say no. I mean I do this for fun and for a living, but I still felt panicked! I had to be creative and what if I wasn't able to come up with something cute?
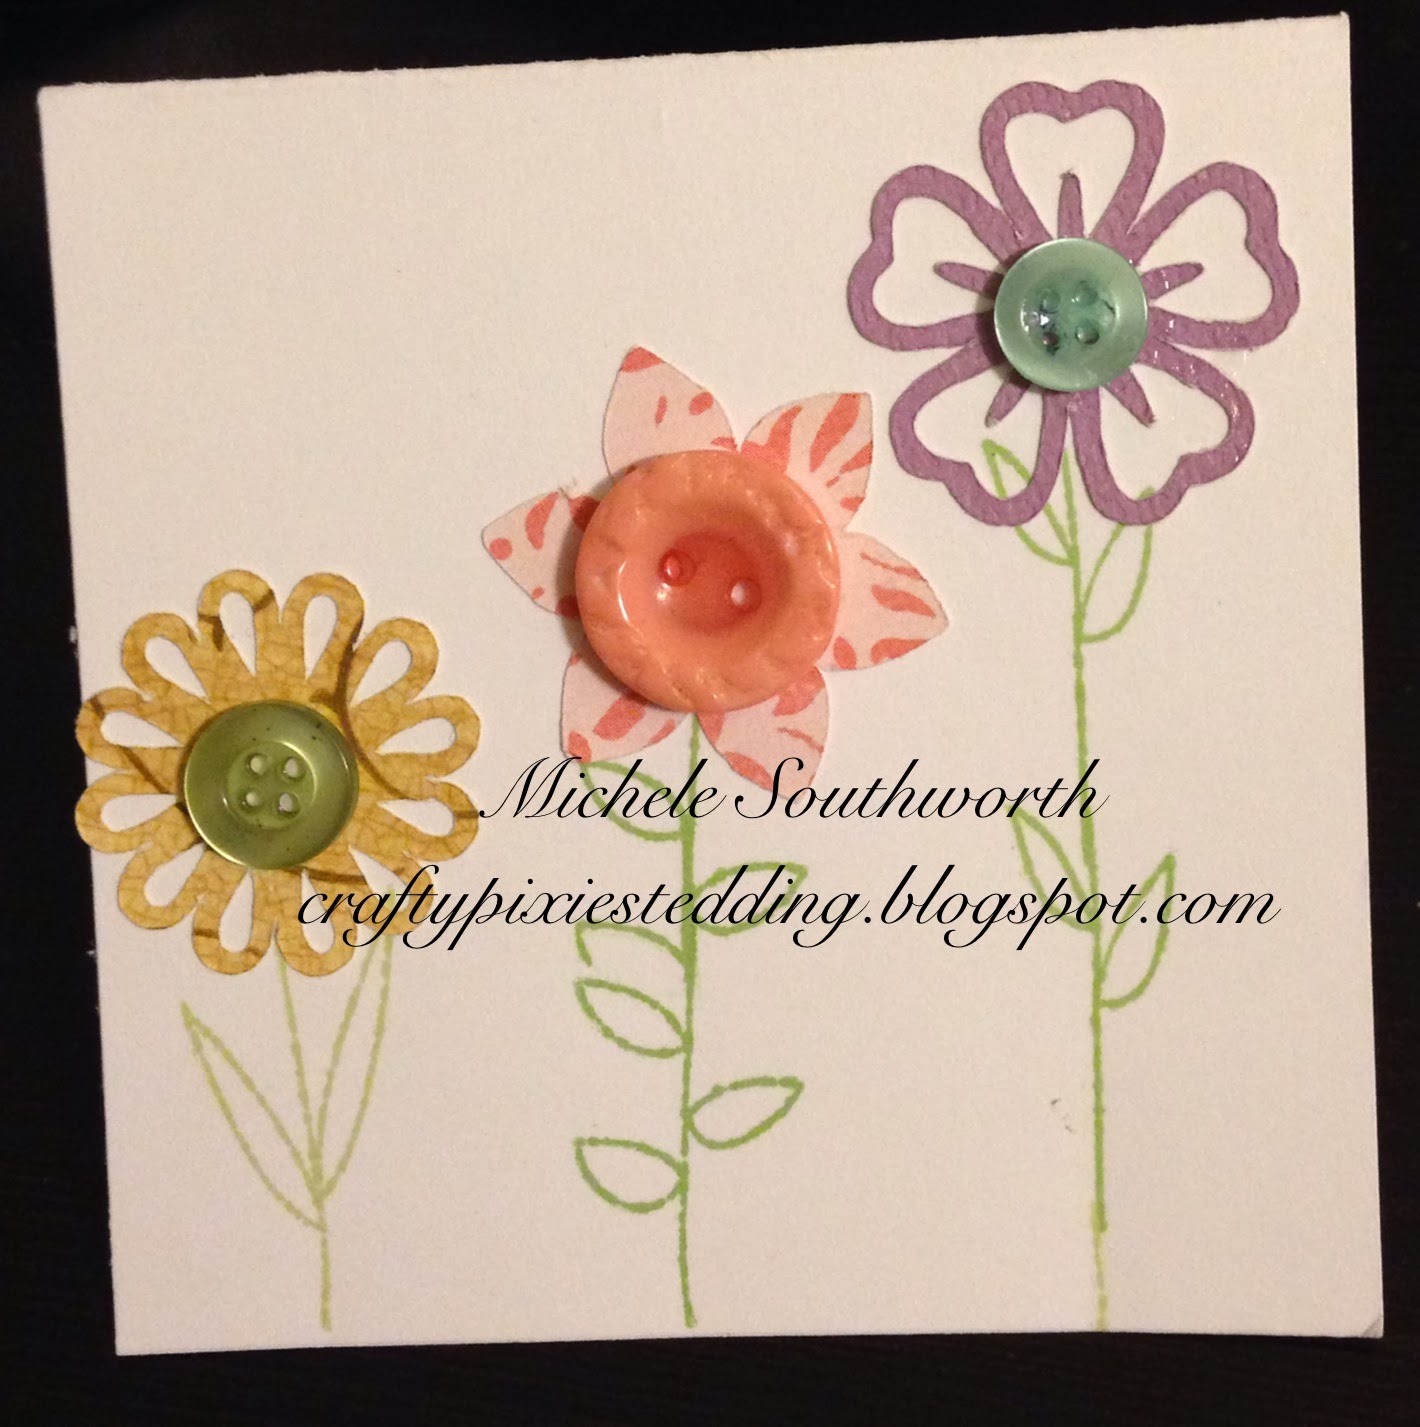
I was worried, but I started by looking at Valentine's sayings to see if there were any that I liked. I was surprised at how easy it was to create once I had a cute saying to work from. What I decided to do was have a 'kit' that would have three small 3"x3" cards that were more fun and then a 'kit' for one A2 card that was more romantic. (I actually shared that one in my post: Damask Divas Blog Hop: Ivy Lane) I kept them fun and simple. They were a hit, when they displayed them so people could sign up to make them. (Makes me feel good!)
So, here they are in all their glory! What do you think?
"Cute as a Button"
"Owl Be Seeing You, Valentine"
Supplies
Want to try making your own super fun Valentine's cards? Head over to my website, HERE and order your supplies right away! I also will be selling ready made kits for these cards. For a set of 12 cards (4 of each design) it will be $15+shipping. Contact me if you're interested. I really had a lot of fun putting these cards together and they were so simple. Aside from cutting the card bases myself, everything else was cut with my Cricut! If you haven't had a chance to use a Cricut, you are missing out and I find making projects so much easier with it!
Anyway, I hope this has inspired you to make Homemade Valentine's cards or to just pull out & work on a new or old project! Get Crafty!
I was worried, but I started by looking at Valentine's sayings to see if there were any that I liked. I was surprised at how easy it was to create once I had a cute saying to work from. What I decided to do was have a 'kit' that would have three small 3"x3" cards that were more fun and then a 'kit' for one A2 card that was more romantic. (I actually shared that one in my post: Damask Divas Blog Hop: Ivy Lane) I kept them fun and simple. They were a hit, when they displayed them so people could sign up to make them. (Makes me feel good!)
So, here they are in all their glory! What do you think?
"I'm Falling for You"
"Owl Be Seeing You, Valentine"
Supplies
Artbooking Cartridge
Lollydoodle paper pack
Buttons, Bits and Bobs stamp set
Buttons
Googly Eyes
Pear Ink
Olive Ink
Sweetleaf Ink
Enjoy the Little Things stamp set
Want to try making your own super fun Valentine's cards? Head over to my website, HERE and order your supplies right away! I also will be selling ready made kits for these cards. For a set of 12 cards (4 of each design) it will be $15+shipping. Contact me if you're interested. I really had a lot of fun putting these cards together and they were so simple. Aside from cutting the card bases myself, everything else was cut with my Cricut! If you haven't had a chance to use a Cricut, you are missing out and I find making projects so much easier with it!
Anyway, I hope this has inspired you to make Homemade Valentine's cards or to just pull out & work on a new or old project! Get Crafty!
Monday, February 3, 2014
Artbooking Made Easy: Inspiration Mini Albums
Good Evening Everyone, today I'm going to share another great video from Close To My Heart. I hope you find these videos as awesome and inspiring as I do. I enjoy learning new ways to play with my Crafty Toys! I honestly haven't cut out any of the Mini Albums from Artbooking yet, well I guess I've used some of the overlays on cards, but never as an actual album. I'll admit I've been intimidated by the idea, as cool as it sounds and they look. But once you watch these great videos that walk you through the steps, how can I not want to put together a few of my own. Check this out and see how it inspires you!
Want to snag your own Artbooking Cartridge and make your own Mini Albums? Head over to my website, HERE and buy yours today! Don't forget to Get Crafty!
Sunday, February 2, 2014
February Specials
I can hardly believe its February already! This month there are a couple awesome deals that you aren't going to want to miss.
This first one I am totally excited about, during the month of February you can get one of our new embossing folders FREE (a $8.95 savings!) with the purchase of any 2 packs of bulk single color or combo cardstock! This is an amazing deal and will only be available while supplies last, so don't put it off. You'll be able to choose from one of 5 new folder designs: dot, chevron, quatrefoil, damask and stripe!
I'm actually very new to the whole embossing thing, but I can't wait to take advantage of this opportunity. The idea of learning the art of embossing and at such a deal is exciting! Once I get my folders, I'll post an embossing 101 post. If you're as new at it as I am, then we can all learn together! Yay!
The second fabulous deal of the month is of course the Stamp of the Month! Who doesn't want to snag a super cute stamp set worth $17.95 for $5 when you spend $50? This month's stamp is the 9 piece set Wild About Love, which includes several super cute fox images! I'm totally in love with this set and is great for Valentine's Day! If you don't want to spend $50 (but honestly its so easy to do ;) ) then you can still purchase the set for its normal price! Don't miss out on this cuteness, because after February ends you won't be able to purchase it!
Head over to my website, HERE and take advantage of our super great deals!
Friday, January 31, 2014
Damask Divas Blog Hop: Ivy Lane
Welcome Ladies to another super fabulous Damask Divas' Blog Hop! If you came from Sharon's Blog, you are in the right place. If you have jumped here and just discovered our blog hop, feel free to check the list at Damask Divas Blog to find the complete list of blog hop participants.
This month we are highlighting the New paper pack: Ivy Lane. I love the beautiful prints in this pack and it was hard to decide how best to show them. I actually have been working on some Valentine cards to present to my Church for an activity this month and when I finally had this paper pack in my hands, I found I was drawn to the shades of pink, with hints of green in it.
I needed something simple, but elegant for this card and I think I managed to do just that. I made two different cards, as the first one I wasn't quite as pleased with how it turned out. Both cards have a 2 inch strip of Ivy Lane floral B&T paper, I then decided to use some Pear cardstock on both cards to hold the theme & thought of the card.
The first card I used a bit of Blush on the first card, as another flash of color and a point to top with a bit of lacy ribbon. I also adorned the Title with a bit more of the lace. I loved how all the colors worked together, but I decided I wasn't fond of some of the layout. Which brought about my work on card number 2.
On the second card, I wanted to keep with the same theme with some differences. I added some Blush cardstock on the second card to emphasize the color scheme and help highlight the Title, which I did in Blush. I rounded corners to give a gentler touch and topped it off with a bit of lace. I really liked the addition of the lace, because it gave a more romantic look. I used the I Adore You stamp set for the phrase, as well as the heart on the second card. I used Hollyhock done in a second generation stamp to enhance the background. (Second generation means you've ink the stamp, then stamp it once on another paper and then finally stamping it on your project.) I added an additional bit of pop with two small hearts cut from Artbooking cartridge, the second of the two was given a 3D element using our 3D Foam Tape.
I had a lot of fun putting together these cards, trying to create a beautiful card to share and teach with the ladies at Church. I hope this inspires you to pick up your own materials and create beautiful Valentine's cards this year! Head over to my website and order today!
I hope you've enjoyed our Blog Hop thus far, your next stop is Stephanie's Blog! Don't forget to Get Crafty!
Monday, January 27, 2014
Washi Wonderland
These days who doesn't enjoy simple projects that look great? I know I definitely have days where simple is better! With the creation of Washi Tape, there has definitely begun a crazy especially in the crafty world, because there is so much you can do with it. From simple embellishments to more elaborate uses, the sky is the limit! Check out this fabulous video sharing a new way to use Washi Tape and your Cricut!
Sunday, January 26, 2014
Love You More...
I managed to pick up a ton of super cute Valentine cardstock! I'm loving some of these patterns! I so I whipped together this super cute, slightly fancy and totally easy card! The card base was 5x7 in Daisy White cardstock, then I used the front and back of a sheet of my newly acquired cardstock to create the bottom of the front. I love how the front was all these layers of ribbon like patterns and the back was grey with white polka dots. The combination on front was so fabulous! Then I cut the cute rectangle card from another newly acquired sheet of cardstock, making sure to cut it precise and round the corners. I liked the cute 'Love You More,' phrase! Then I gave it some 3D effect by placing some 3D foam tape underneath and then added this totally great section of crocheted ribbon over the top of the bottom section. I love the look, it was cute and classy. Plus, like I said totally simple. I added a cute little poem on the inside to finish it off and it was ready to go to its new home.
I'm hoping to put together some fun cards for my kids to give out over the next couple weeks. So, I should be sharing those soon. Now what I learned from making this card was that it can look elegant without being overly complicated. Don't let using an embellishment that you've never used before intimidate you. You'll never learn if you don't try! So, go out there and make this year's Valentine cards yourself! Don't forget to Get Crafty!
Subscribe to:
Posts (Atom)